SBAP – Real-Estate Aerial
Photography and Videography Process
This blog provides and overview and explanation of the South Bay Aerial Photography’s real-estate aerial photography process. It includes general information regarding a typical real-estate aerial photography shoot, as well as detail regarding formats we use and post-processing.
Real-Estate AerialPhotography and Videography Process Overview
•South Bay Estate and Building Lot Aerial Photography and Videography Challenges
•SBAP Estate Aerial Photography and Videography
•Formats
•Aerial Photo and Video Process
•Aerial Photo and Video Post-Process
•Example of Products (for this property)
•Edward@SouthBayAerialPhotography.com
South Bay Estate and Building Lot Aerial Photography and Videography Challenges
•Primary Challenge – Proximity of Other Homes, Power Lines, Obstacles that Either Prevent the Shot or Block the Path
•We overcome this using using different angles and heights when filming and using obstacle removal during post processing
•Bright Sunlight – Often results in too white (over saturation) on what is lit-up and shadows so dark that nothing is visible on what is not lit-up
•We take photos using 5 Auto-Exposure Brackets and digital negative format to retain all data for additional post-processing to ensure proper exposure values
•Wind – Wind is Gusty from 11:30 on Everyday
•We work early in the mornings and assure quick shutter speeds to overcome burring caused by wind or drone instabilities
•Haze and Smog – These exist and get worse throughout the day
•Filming in the morning also minimizes the above impacts
SBAP Aerial Video and Photo Format
•Videos are 4K 60 fps, 16:9 Aspect Ratio, DLOG format
•Photos are 48 MP, 4:3 Aspect Ratio
•Each completed Picture consists of 5 Photos taken in AEB (automated exposure bracket)
•Unless Otherwise Requested
Aerial Photography and Videography Process
•Photos typically concentrate on entryways, on the front and back of the home, with exceptions of course
•Three photos from the front and the back
•The goal is to assure complete coverage with even margin on the top and bottom
•The drone is typically just above the beginning of the roof line

Looking Top Down Toward Home
•3 Front and Rear Estate Photos With Overlap
•Straight on, and one from each side

Photo Post-Processing (PPP) – Step 1- Combine 5 to 1
•Each Final HDR Pic starts with 5 High-Definition Auto Exposure Bracketed Photos
•All Photos are Aligned, De-Ghosted and combined for the Best Exposure

Developing HDR photos from AEBs is easy with Adobe Lightroom Classic. Click the link above to go the instructions.
PPP- Step 2 – Enhancement and Debris Removal


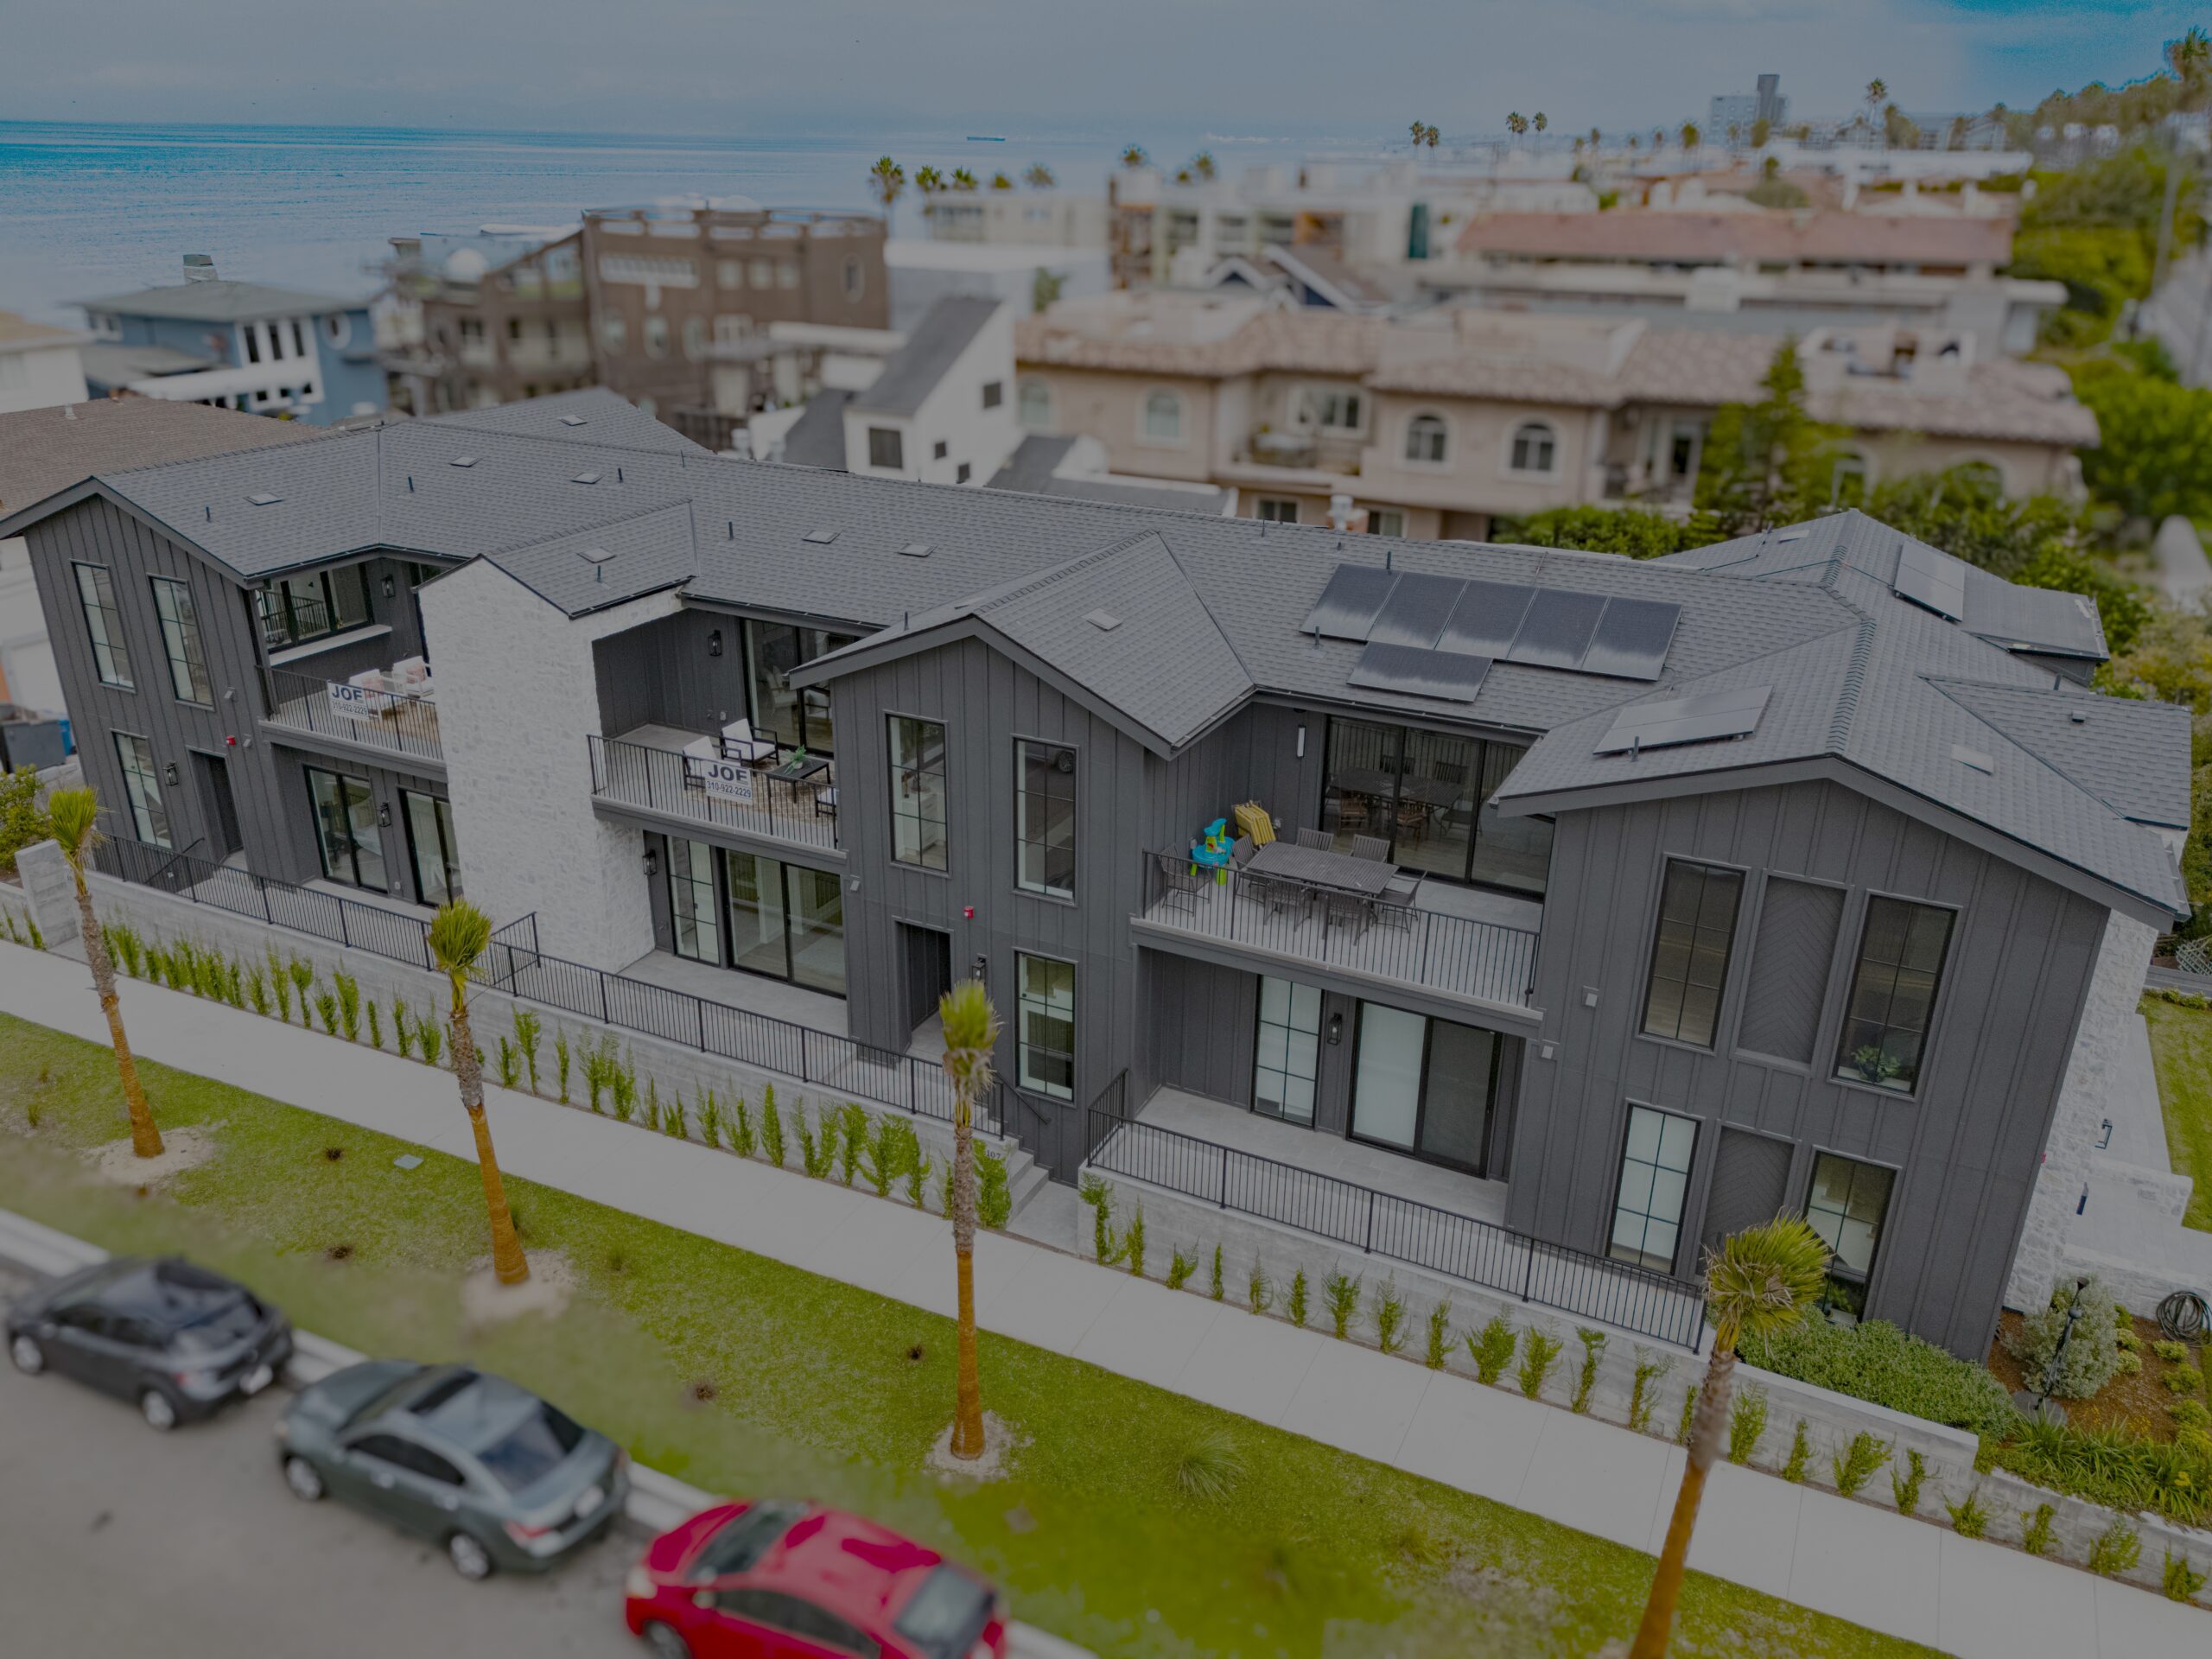
Debris removal was accomplished using the healing tool in Adobe Lightroom Classic. This link will take one to the instructions. The newer AI generated removal tool will sometimes replace instead of remove. This can be see in the above lower folder where the tent was changed into a table. Once it was a large anchor, I could not get it to change into nothing.
Photo Post-Processing – Step 3 – Blur
•We blur background objects which are not the subject of the photo

Blurring was also accomplished using Lightroom Classic and that went pretty well.
Photo Post-Processing – Step 4 – Sky-Replacement

Sky masking and enhancement is available in Lightroom classic, but I think i used Adobe Photoshop to replace this sky. I general, I find LRC to be the easier of the two to use. Although, neither is necessarily easy and there are other issues.
Final Product
•Note: This is my home, so I was overly conservative in staying away from my neighbors which resulted in the rear pics being taken at height
•I fly here quite a bit, so I do try to be courteous to neighbors
•For a client we do what is necessary to get the proper view

Looking Outward from the Home
Panoramas – Typically 180 Deg
•Performed for the entire home for the best view and from all balconies

Panoramas

Aerial Videography – Toward the Home

Video Post-Processing
•We combine several videos (3 to 5) featuring different views of the home, from several viewing angles, to create a ~ one minute video of the home
•Perform Fly-Ins and Vertigos for the front and rear views,
•Asteroid and Fly-Arounds provide a 360-degree view of the property
•We track, detail, and enhance the property while blurring the background
•Music and beginning and ending videos that feature the surrounding area is included if requested
I use DaVinci Resolve to do all my video editing. Here is a big shout out to the DR family for making the best Video editing software in the world available to all. .
Contact Us
South Bay Aerial Photography
SoutBayAerilPhotography.com
Redondo Beach, CA
Edward@SouthBayAerilPhotography.com
310-292-1583
or use the form below

